


Install MySQL on your PC, and learn how to tame it using SQLyog.
In my last TechTip, I showed you how to install Apache and PHP locally on your PC. But to make the marriage perfect, PHP really needs a database partner, and the open-source MySQL database server is the perfect match.
Normally, the database will be installed on IBM i, Windows, or Unix, but if you want to start using MySQL and PHP, a local installment makes a lot of sense because you don't need to worry about messing things up. Heck, you don't even have to be connected to the Internet.
In the second part of this tip, I'll present a program called SQLyog, which is an excellent program to use when working with various MySQL databases.
So if you find this appealing, please follow the "local" path down the PHP/MySQL road.
You must be sure of one very important thing before we start. In my last TechTip, Figure 14 describes installing the MySQL extension in order to access the database. If you have not done that yet, return to the tip and do it. Otherwise, you will end up tearing your hair out (if you have any left) because you will not get anything to function at the end of this tip.
OK. That said, let's fire up the MySQL install rocket and move on.
First, we have to download the current stable version of MySQL. At the time of writing, this is Version 5.1. So point your browser to http://dev.mysql.com/downloads/ and click on the link shown in Figure 1.
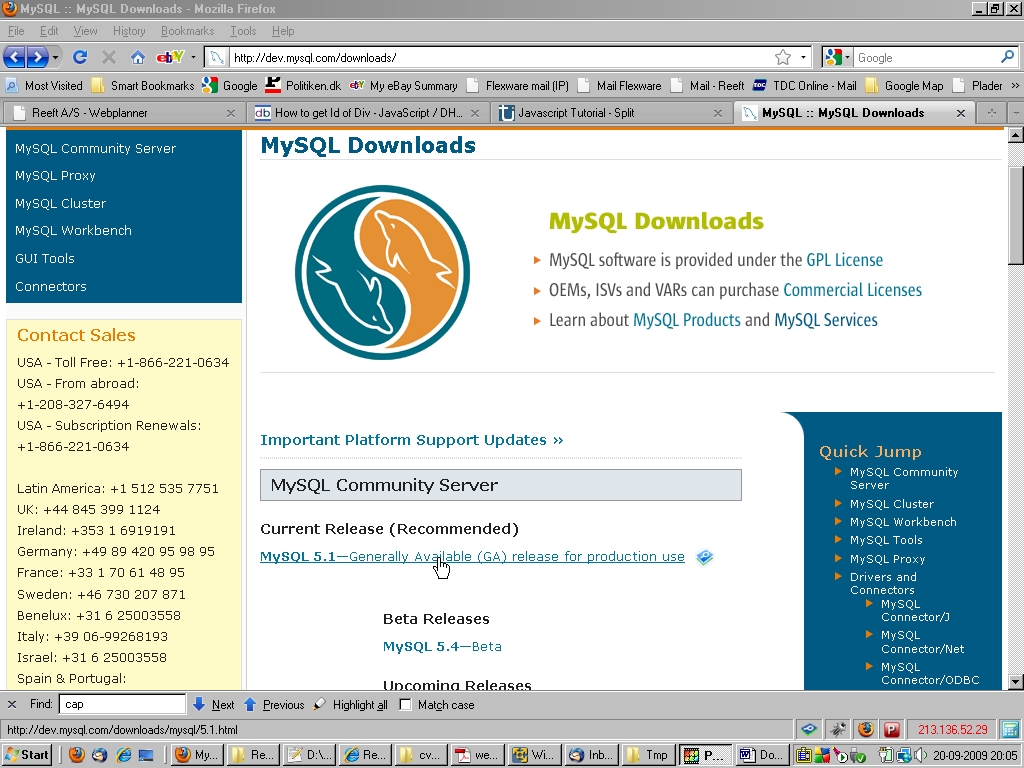
Figure 1: Download MySQL. (Click images to enlarge.)
Then select the MySQL Community Server, which is the free version.

Figure 2: Select the MySQL Community Server.
Select Windows (if you are running Windows on your PC).
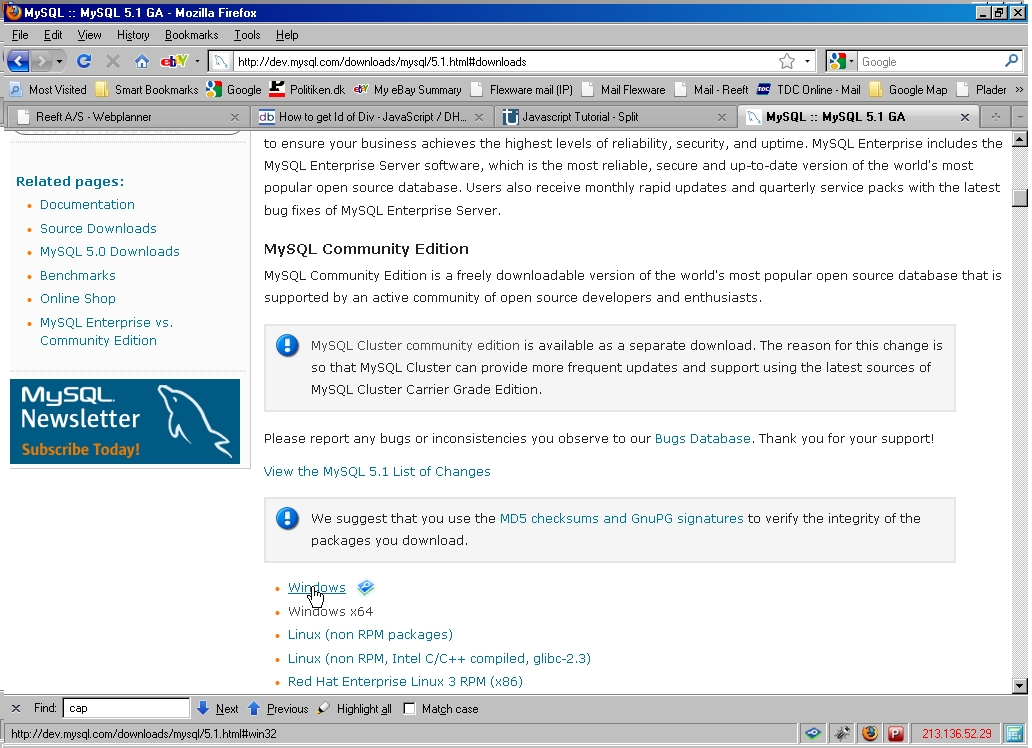
Figure 3: Select Windows.
Then click the "download" link shown on Figure 4.
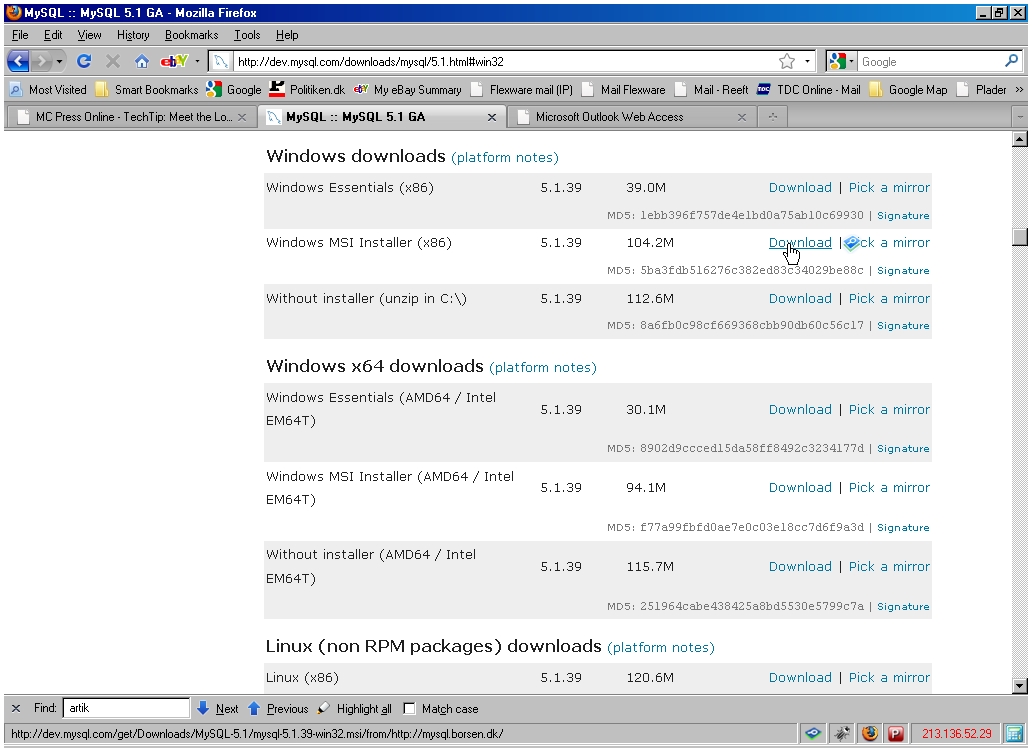
Figure 4: Click the "download" link.
Save the file as shown in Figure 5.
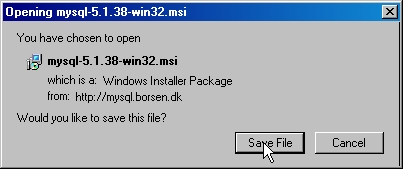
Figure 5: Save the file.
When done saving, go to the place where you downloaded the mysql-5.1.39-win32.msi file and double-click it. The welcome picture in Figure 6 will appear. Press Next.
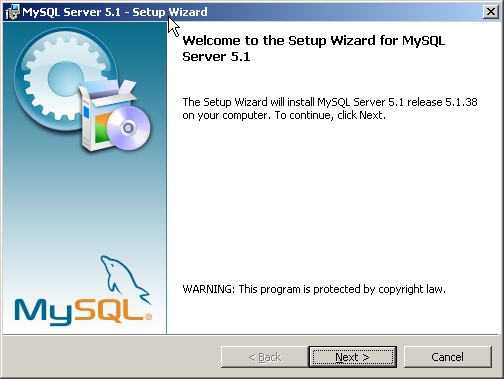
Figure 6: Press Next.
Skip all the ads on the next two pages, and press Next until you see the picture in Figure 7.
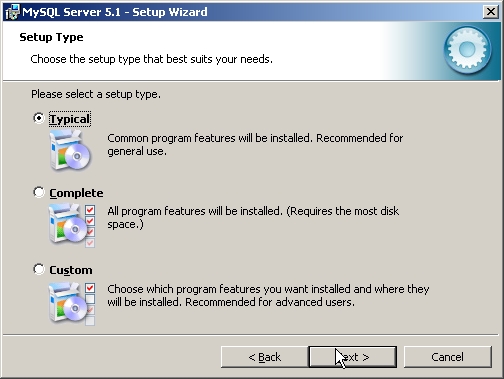
Figure 7: Choose the setup type.
Here, you to select how you want your version of the database to act. As this is just a common installation, select "Typical" and press Next. Figure 8 will show a confirmation screen showing you the selections you made.
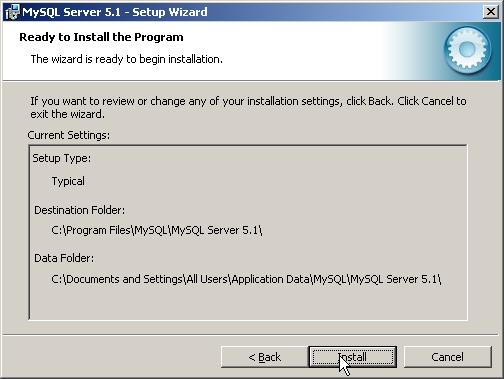
Figure 8: View your selections.
You are now ready to fire away the rocket. Do so by pressing Next, and watch the install screen while the database is being installed. When you're done, a "Wizard Complete" screen like the one in Figure 9 will be shown.
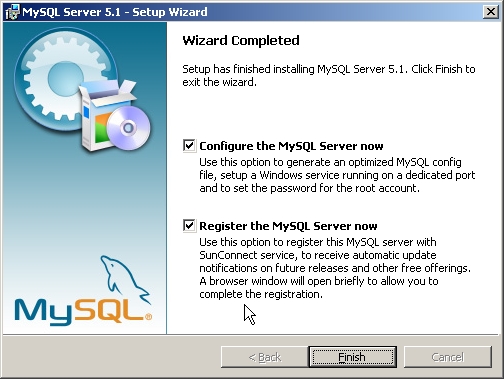
Figure 9: Your installation is complete.
If you want to register the product, do so, but no matter what you select, make sure the "Configure the MySQL server now" is clicked. Press Next, and on the Configuration Wizard screen, press Next again. You will be presented with the picture in Figure 10.
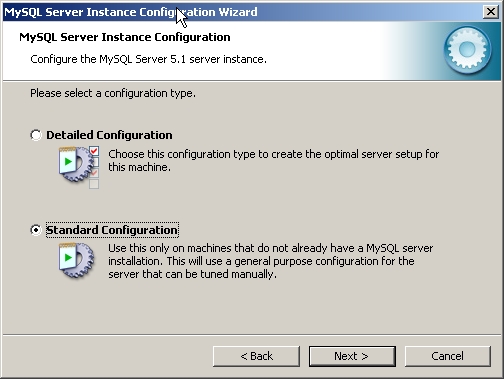
Figure 10: You have configuration choices.
Because I assume this is a first-time MySQL installation, just select "Standard Configuration" on Figure 10, and press Next.
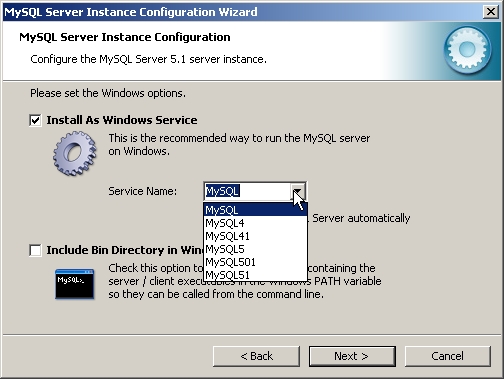
Figure 11: Select your configuration type.
On this screen, you have to decide how you want MySQL to run on your PC. I have never done anything except running it as a Windows service, so please do that. Then you have to select the name of the service, and you have various alternatives. Personally, I like to know what version I have running by just looking at the service name, so in the drop-down select MySQL501. This also ensures that if you ever want to test another version you can have more than one service installed. Press Next to view Figure 12.

Figure 12: Select your security settings.
This is a very important screen because here you have to decide your root password. The root password to MySQL is like the QSECOFR to a System i. Because this is just a test on your PC, enter something easy to remember, like "1234." Press Next.
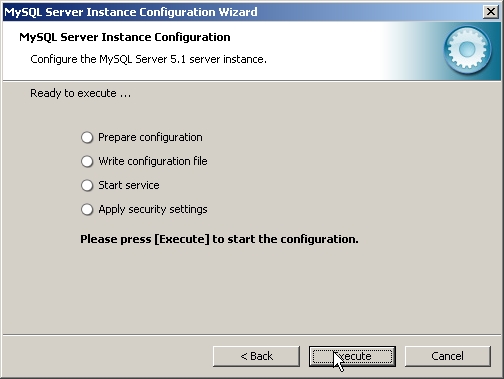
Figure 13: You're ready to execute the configuration.
You have now completed all the tasks involved in configuring the server instance, so press Execute and wait while it is carried out. After a little while, you will see Figure 14.

Figure 14: Your configuration is processing.
Success! You have now installed and configured a MySQL Database Server on your PC. Now you are ready to use it.
You may wonder how this is going to happen. There are various ways. You can use the MySQL command line interface, you can download the very commonly used phpMyAdmin, or you can use SQLyog, which is MySQL manager running on your Windows desktop.
You must be aware of one thing before using MySQL. In the world of non-System I, a database is what we know as a library and a table is what we know as a file. With that said, let's install SQLyog.
Point your browser to http://code.google.com/p/sqlyog/downloads/list as shown in Figure 15.
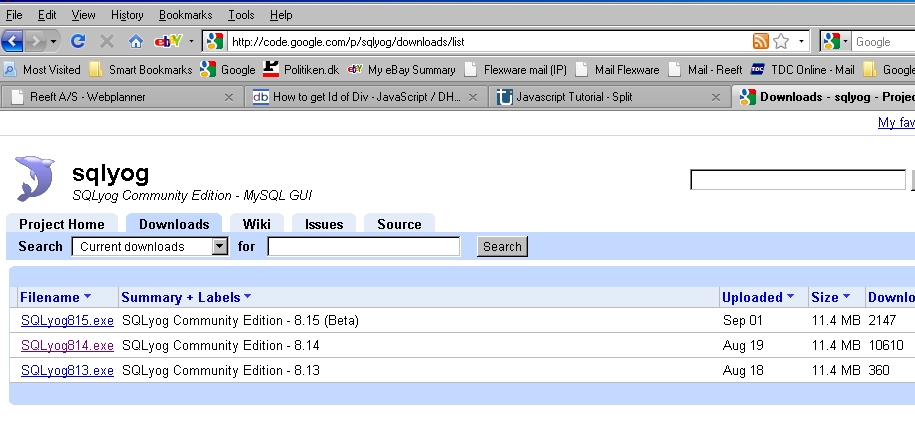
Figure 15: Download sqlyog.
Select the SQLyog814.exe - SQLyog Community Edition - 8.14 and save it somewhere on your PC. Then, execute the SQLyog814.exe file, and you will see the SQLyog welcome screen like the one in Figure 16.

Figure 16: Welcome to the SQLyog community!
Press Next and accept the license terms.

Figure 17: Accept license terms.
Then choose the components you want to install.
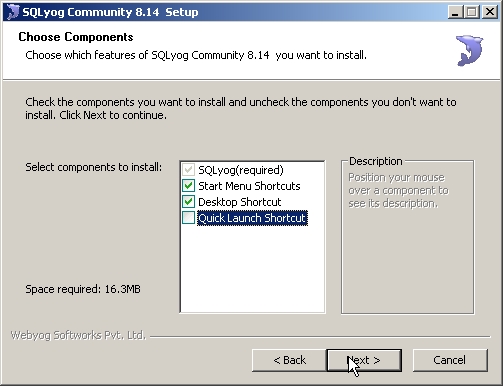
Figure 18: Choose your components.
Press Next and confirm the install location.
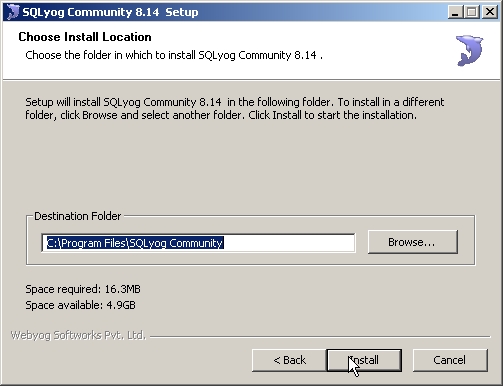
Figure 19: Confirm the install location
Press Next, and SQLyog will be installed.
When it's done, a completion screen will be displayed like the one in Figure 20.
You are now asked if you want to run the program. Accept it and press Next.

Figure 20: Run the program.
Now, you will be presented with the screen shown in Figure 21. Here, you have to define the database you want to connect to.
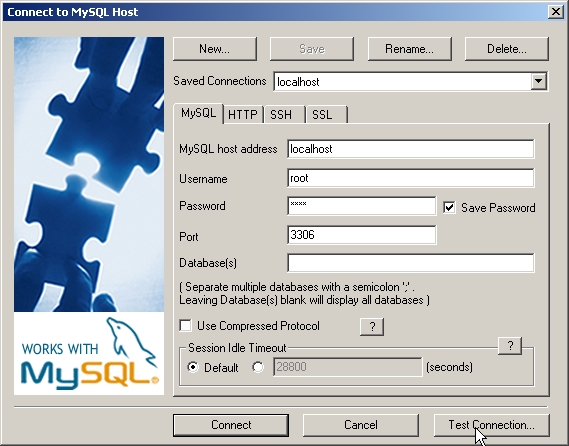
Figure 21: Define the database you want to connect to.
Because we will do a localhost installment, enter the name localhost in the Saved Connections field.
In the MySQL host address, enter localhost. If you want to access a database running on another server, this is the place where you would enter either the IP address or the domain name.
In the Username enter root. You were asked about the password for the root user profile when you installed MySQL. In the Password field, enter the password you specified during the MySQL installation (e.g., "1234").
I expect that you did not change the 3306 port, so just leave that as it is.
Press the Save button to save your login profile.
If you want to see what version of the MySQL database you are connecting to, press the Test Connection button, and you will see an alert like the one in Figure 22:
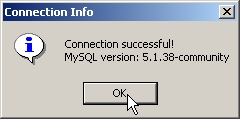
Figure 22: See the version you're connecting to.
Press OK to close this screen and return to the Connect to MySQL Host screen. Press Connect.
This will reveal the SQLyog workbench, just like the one in Figure 23.
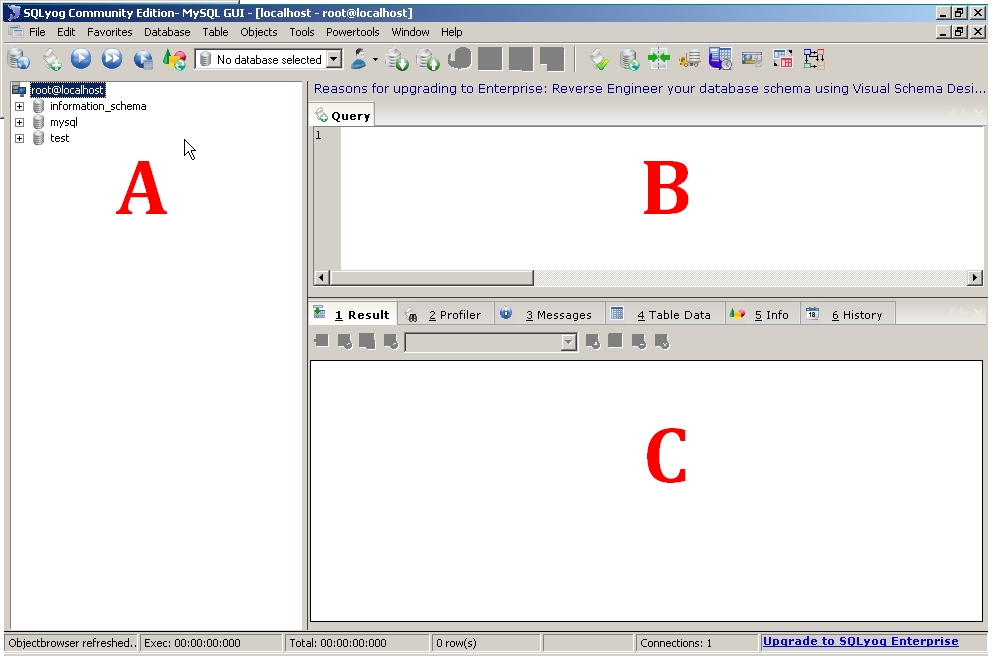
Figure 23: You're in the workbench!
The screen is made up the following way:
A: On the right side, you see all the databases you can work with.
B: On the top left side, you see the Query window, where you can enter SQL statements.
C. On the bottom left side, you see a Result/Messages/Table Data area. This is where your table data will be.
In my next tip, I will go into more details about SQLyog. But let's start by defining a database and a small table just to get you working.
Right-click in the A area and select Create Database as shown in Figure 24.
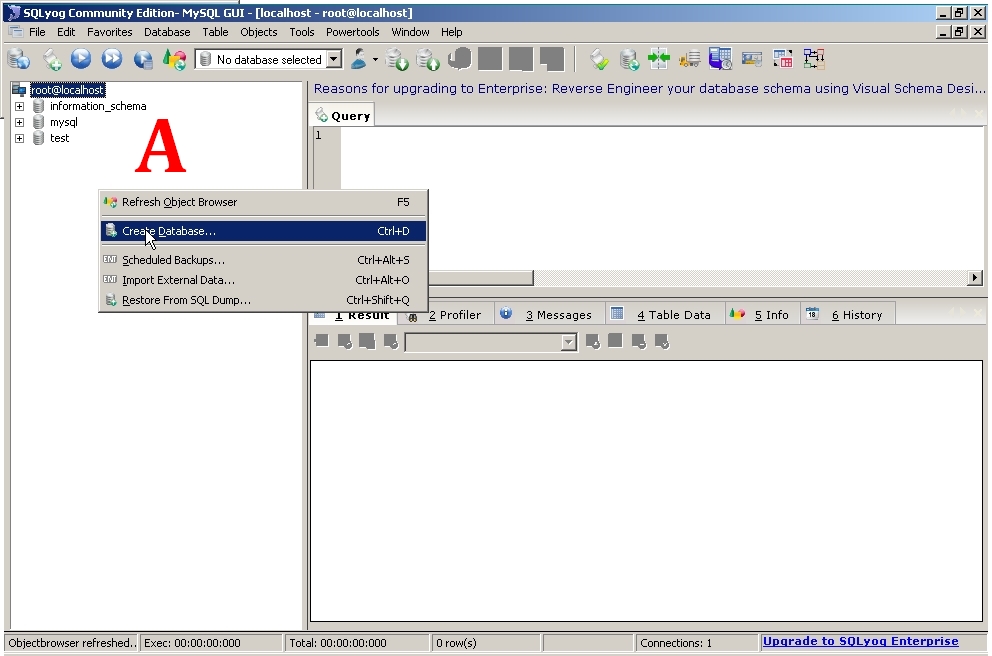
Figure 24: Start creating your database.
The Create Database dialog will be displayed.

Figure 25: Enter the database name.
Enter mydb for the database name, and leave the other fields as they are. Press Create, and the database will be created.
Now we will create a table and fill some data into it.

Figure 26: Start creating a table.
On the Tables tab, right-click and select Create Table.
The New Table screen will be displayed. Look at Figure 27 and fill your the fields like the one in the example.
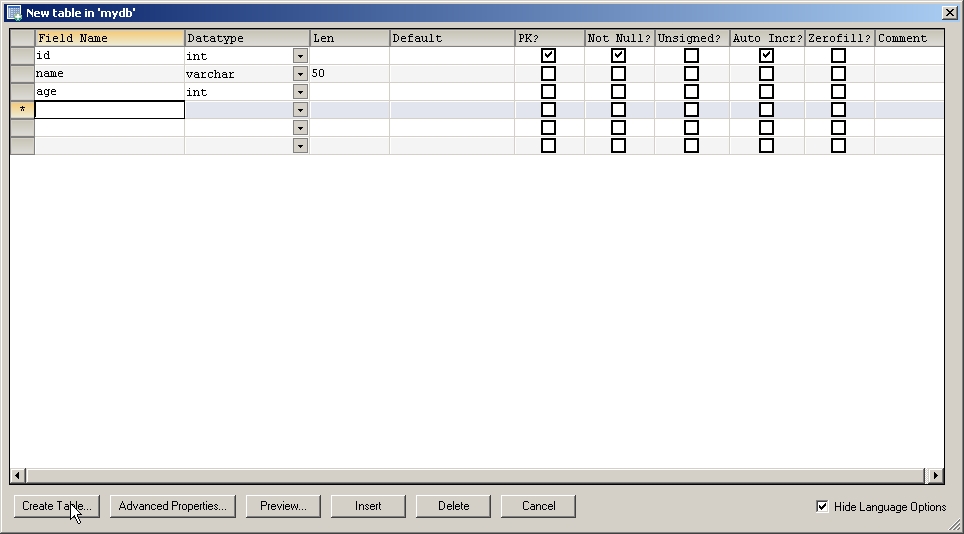
Figure 27: Fill in your fields.
Notice the "id" field, which is defined like an int/Auto Incr field. This is like the relative record number in a System i file, and it will automatically be maintained by the database server. It ensures that all records in the table will have a unique record ID.
When done entering the field names and types, press Create Table and you will be prompted for a table name.
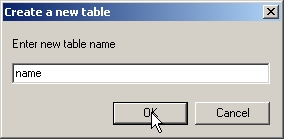
Figure 28: Enter your table name.
Enter the name "name" in the field and press OK.
An alert will confirm that the table is created. Just press OK, and when asked if you want to create more tables, click No. You will be returned to the workbench.
Then expand the table to see the fields (A in Figure 29), and in B, click the Table Data tab. Then fill in some data as shown in the example.
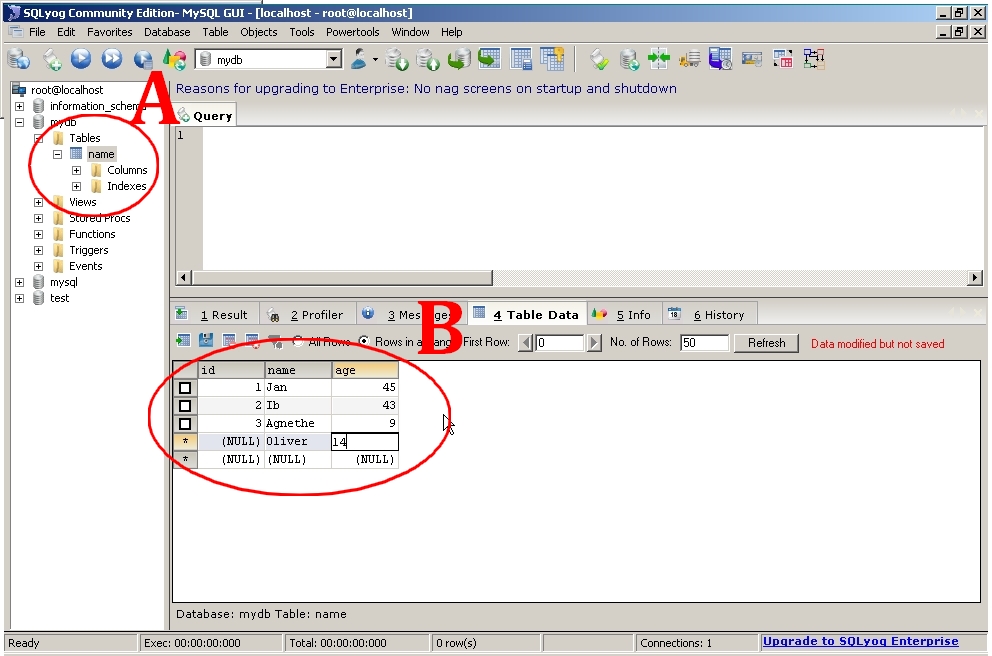
Figure 29: Enter your table name.
Every time you enter new data, the red text shown in the figure will appear. When you move the cursor outside the row, the data will be saved and the red message will disappear. The pitfall is that you may forget to move the cursor outside the row, and therefore the data will not be saved.
Note: You do not have to enter anything into the id field. The database server will maintain this field as mentioned before.
Success! You have now installed a MySQL Database Server, created a database using SQLyog, and entered data into a table called "name."
But before I end this tip, I will provide you with a small PHP script that will read the table just to show you that everything now works.
Making a Small PHP/MySQL Test
In your Apache root-dir (htdocs if you made a standard install), create a document called "readname.php" and open it in your editor of choice (I like Notepad++).
Please note that this is just an example. I do not recommend that you write code this way, but for a quick test, this will be OK.
Enter the following code:
<?php
$dbHost = "localhost";
$dbUser = "root";
$dbPass = "1234";
$dbDatabase = "mydb";
$conn = mysql_connect("$dbHost", "$dbUser", "$dbPass") or die ("Error connecting to database.");
mysql_select_db("$dbDatabase", $conn) or die ("Couldn't select the database.");
$result=mysql_query("select * from name", $conn);
while($row = mysql_fetch_array($result))
{
$name = $row['name'];
$age = $row['age'];
echo "$name - $age <br>";
}
?>
Then point your browser to the following URL:
http://localhost/readname.php
The data shown in Figure 29 will appear.
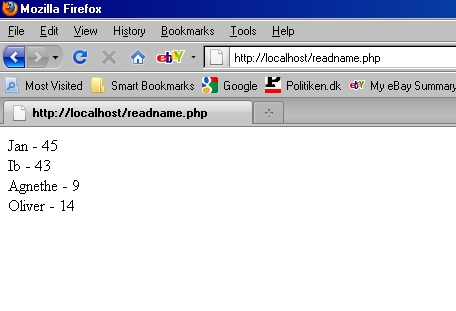
Figure 29: Your data is revealed!
Congratulations! You just read some MySQL data using a PHP script.
Wrapping It All Up
This completes Part I. If you have followed me so far, great! Now the fun is about to begin.
In my next tip, I will use the MySQL Database server in a small PHP/AJAX program, like the one Jeff Olen wrote about in PHP and AJAX, a Great Pairing.
So till next time, stay tuned. I tell you, it will be fun!
One final note: I have not had the chance to test this setup on an IBM i, but I have tested it on both UNIX and Windows boxes, so hopefully this will also work with the MySQL database installed on the i. If anybody has the chance to test it in an IBM i environment, please share the results with the rest of us so we know what we're up against.


 More than ever, there is a demand for IT to deliver innovation. Your IBM i has been an essential part of your business operations for years. However, your organization may struggle to maintain the current system and implement new projects. The thousands of customers we've worked with and surveyed state that expectations regarding the digital footprint and vision of the company are not aligned with the current IT environment.
 TRY the one package that solves all your document design and printing challenges on all your platforms. Produce bar code labels, electronic forms, ad hoc reports, and RFID tags – without programming! MarkMagic is the only document design and print solution that combines report writing, WYSIWYG label and forms design, and conditional printing in one integrated product. Make sure your data survives when catastrophe hits. Request your trial now! Request Now.
 Forms of ransomware has been around for over 30 years, and with more and more organizations suffering attacks each year, it continues to endure. What has made ransomware such a durable threat and what is the best way to combat it? In order to prevent ransomware, organizations must first understand how it works.
 Disaster protection is vital to every business. Yet, it often consists of patched together procedures that are prone to error. From automatic backups to data encryption to media management, Robot automates the routine (yet often complex) tasks of iSeries backup and recovery, saving you time and money and making the process safer and more reliable. Automate your backups with the Robot Backup and Recovery Solution. Key features include:
 Business users want new applications now. Market and regulatory pressures require faster application updates and delivery into production. Your IBM i developers may be approaching retirement, and you see no sure way to fill their positions with experienced developers. In addition, you may be caught between maintaining your existing applications and the uncertainty of moving to something new.
 IT managers hoping to find new IBM i talent are discovering that the pool of experienced RPG programmers and operators or administrators with intimate knowledge of the operating system and the applications that run on it is small. This begs the question: How will you manage the platform that supports such a big part of your business? This guide offers strategies and software suggestions to help you plan IT staffing and resources and smooth the transition after your AS/400 talent retires. Read on to learn:
LATEST COMMENTS
MC Press Online